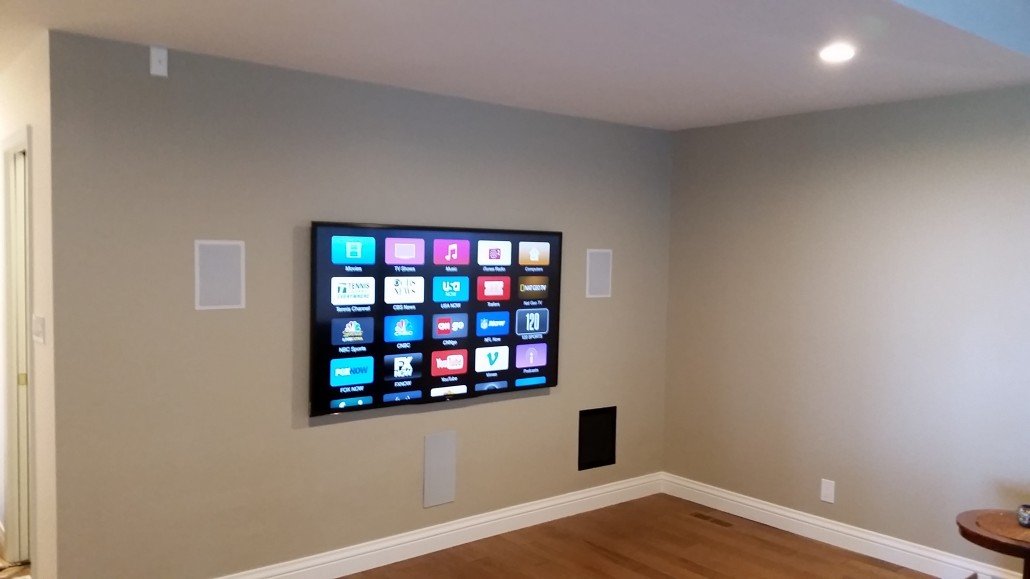
Creating a stylish home entertainment setup can be greatly enhanced by installing a mantel mount for your television. Not only does it provide an elegant look, but it also allows for optimal viewing angles and saves space, making it an ideal solution for modern living rooms. Understanding the process of installing a mantel mount can be incredibly beneficial, ensuring that the installation is both safe and aesthetically pleasing. This guide will take you through the necessary steps to achieve a professional finish.
Understanding Mantel Mounts
Mantel mounts are designed to accommodate the unique challenges of mounting a television above a fireplace. They are engineered to ensure the TV can be pulled down for comfortable viewing and pushed back up when not in use.
- Allows for flexible viewing angles.
- Reduces neck strain by positioning the TV at eye level.
- Compatible with various TV sizes and models.
To find out more about this approach, consider exploring deeper insights into mantel mount technology and its benefits.
Preparation for Installation
Gathering Materials
Before starting the installation, gather all necessary tools and materials. This includes:
- Mantel mount kit (ensure it is compatible with your TV size).
- Stud finder.
- Level.
- Drill and appropriate drill bits.
- Screwdriver.
- Measuring tape.
Ensuring that all tools are at hand will streamline the installation process and help avoid unnecessary interruptions.
Identifying the Mounting Location
It’s crucial to identify the right spot for the mantel mount. Use a stud finder to locate studs in the wall above the fireplace. This will ensure that the mount is securely attached, providing stability and safety. For more detailed guidance, explore advanced guides and tips on positioning your mantel mount.
Installation Steps
Step 1: Mark the Drill Points
Using a level and measuring tape, mark the exact points where you will drill. Make sure these points align with the studs to ensure a secure fit.
Step 2: Drill the Pilot Holes
Carefully drill pilot holes into the marked points. This helps prevent the wood from splitting and makes it easier to screw in the bolts.
Step 3: Attach the Mount
Align the mount with the drilled holes and use the provided hardware to attach it securely. Double-check the level after attaching to ensure it’s straight.
Step 4: Mount the TV
With the mount securely in place, attach the mounting brackets to the back of the TV. Then, lift the TV and carefully hang it onto the mount. It may be helpful to have an assistant for this step to ensure the TV is safely secured.
To discover expert strategies here for safely mounting your TV, consider consulting detailed installation techniques.
Final Adjustments and Tips
After the TV is mounted, make any final adjustments to the tilt and swivel settings to achieve the desired viewing angle. Ensure all screws and bolts are tightened properly to avoid any movement over time.
For a comprehensive understanding of maintaining and optimizing your setup, learn about tailored solutions available for long-term performance and satisfaction.
By following these steps, you can install a mantel mount that not only complements your home?s aesthetic but also enhances your viewing experience. Investing time in a thorough and precise installation will ensure enjoyment of your stylish home entertainment setup for years to come.