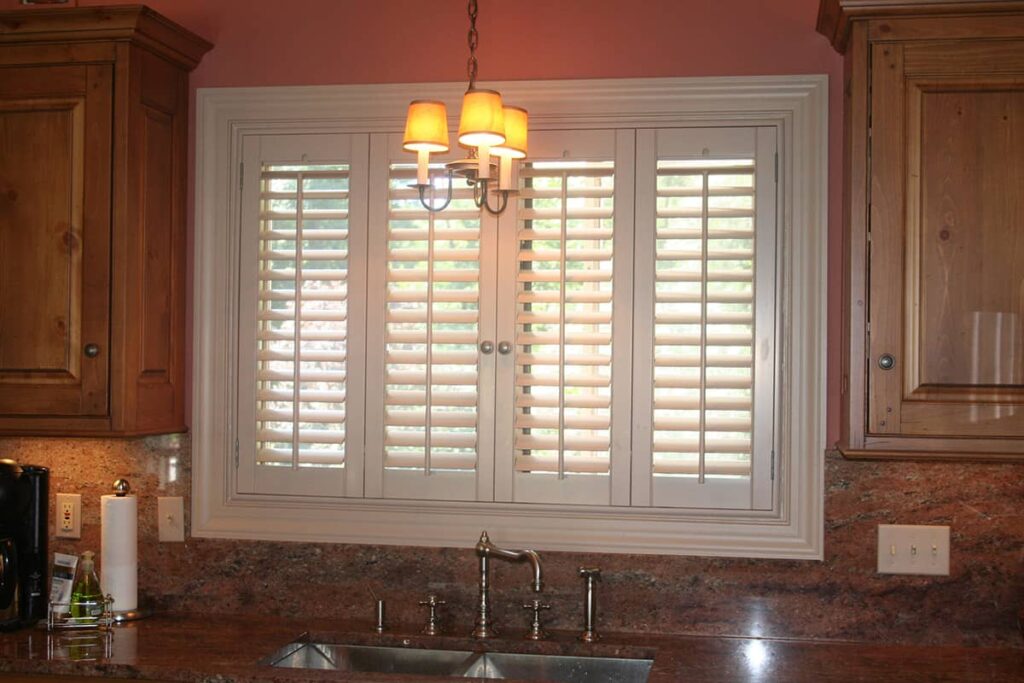
Interior shutters are a timeless addition to any home, offering both aesthetic appeal and functional benefits. Installing these shutters, however, requires precision and attention to detail to ensure a seamless fit and operation. The process of installing interior shutters involves careful planning, accurate measurement, and meticulous execution. This guide delves into the seamless process of interior shutter installation, offering insights and tips for achieving a professional finish.
Understanding the Basics of Interior Shutter Installation
Before delving into the installation process, it’s essential to grasp the fundamentals. Interior shutters are more than just window coverings; they are integral parts of a room’s architecture. Their installation can enhance privacy, control light, and even improve energy efficiency.
Key Considerations
- Measurement: Accurate measurement is the cornerstone of a successful installation. It’s crucial to measure both the width and height of the window, considering the depth of the window frame as well.
- Shutter Type: Choose the appropriate type of shutter based on the window style and personal preferences. Options include full-height, caf? style, and tier-on-tier shutters.
- Material: Shutters come in various materials, including wood, vinyl, and composite. The choice of material can affect durability, maintenance, and aesthetic appeal.
Step-by-Step Installation Process
To achieve a seamless installation of interior shutters, follow these methodical steps:
Preparation
- Gather Tools: Essential tools include a drill, screwdriver, level, measuring tape, and pencil.
- Inspect Components: Check that all shutter components are present and undamaged before commencing installation.
Installation
- Marking the Frame: Use a pencil to mark the exact locations for brackets on the window frame.
- Drilling Holes: Drill pilot holes to prevent wood splitting and ensure stability when attaching brackets.
- Attaching Brackets: Secure the brackets using screws, ensuring they are level and aligned correctly.
- Mounting the Shutters: Carefully place the shutters into the mounting brackets. Ensure they are level and open and close smoothly.
- Final Adjustments: Make any necessary adjustments to ensure the shutters are perfectly aligned and operate without obstructions.
Ensuring a Professional Finish
A seamless installation goes beyond simply attaching shutters to a window. It’s about achieving a polished look that complements the room’s decor. Explore advanced guides and tips for enhancing the final appearance of interior shutters.
Finishing Touches
- Painting or Staining: Choose finishes that match the room’s color scheme for a cohesive look.
- Hardware Selection: Opt for hardware that blends with the shutter material and style.
- Regular Maintenance: Implement a maintenance routine to keep shutters looking new and functioning optimally. Find out more about this approach to prolonging shutter life.
Troubleshooting Common Installation Issues
Even with meticulous planning, issues can arise during or after installation. Here are some common problems and solutions:
- Misalignment: If shutters are not aligning properly, double-check the level of brackets and adjust as necessary.
- Stiff Operation: Lubricate hinges and check for obstructions if shutters do not open smoothly.
- Light Gaps: Reassess the installation to minimize any gaps allowing unwanted light.
For more detailed insights, discover expert strategies here.
With careful planning and attention to detail, the installation of interior shutters can be a rewarding project that transforms the ambiance and functionality of any room. Learn about our tailored solutions to enhance any living space with precision and style.