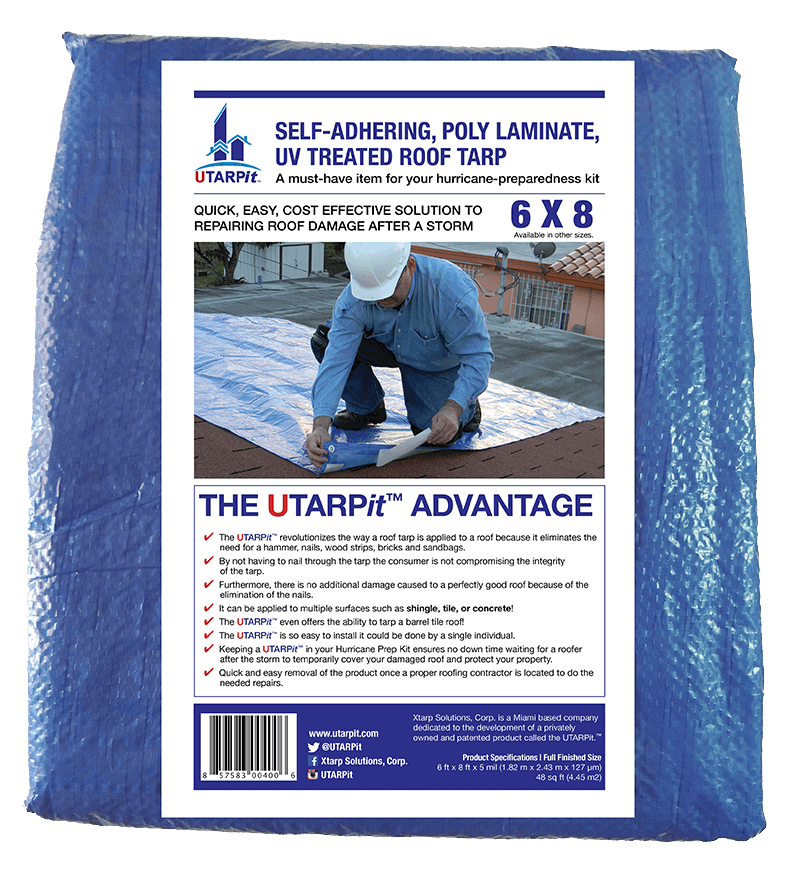
In the realm of home maintenance, roof leaks can present a formidable challenge. They are not only disruptive but can also cause significant damage if not addressed promptly. One effective interim solution for managing leaks is the application of a self-adhesive roof tarp. Known for its convenience and efficacy, this method can prevent further water ingress until permanent repairs can be made. This article delineates the steps required to properly apply a self-adhesive roof tarp, ensuring a reliable temporary fix and safeguarding your home from water damage.
Understanding the Importance of Self-Adhesive Roof Tarps
Before delving into the application process, it’s essential to recognize why self-adhesive roof tarps are a preferred choice for leak prevention. These tarps offer:
- Quick and easy application without needing additional adhesives.
- Durability and resistance to various weather conditions.
- Capability to bridge over small holes and cracks effectively.
To explore advanced guides and tips on choosing the right tarp, discover expert strategies here.
Preparation Before Application
Proper preparation is crucial for the successful application of a self-adhesive roof tarp. Follow these preparatory steps to ensure a smooth process:
- Inspect the Roof: Conduct a thorough inspection to identify the exact locations of leaks.
- Clean the Surface: Remove any debris, dirt, or loose shingles from the affected area.
- Measure and Cut: Measure the area needing coverage and cut the tarp to the appropriate size, allowing for overlap.
- Gather Safety Gear: Ensure the use of safety gear such as gloves, safety glasses, and a stable ladder.
Applying the Self-Adhesive Roof Tarp
Step 1: Position the Tarp
Carefully position the tarp over the leak area, ensuring that it extends beyond the edges of the damaged section. This provides adequate coverage and enhances the tarp’s effectiveness. For tailored solutions that fit your needs, find out more about this approach.
Step 2: Secure the Edges
Once positioned, peel back the protective film from the adhesive side of the tarp and press it firmly against the roof surface. Ensure that all edges are securely attached to prevent wind uplift.
Step 3: Seal the Perimeter
To enhance the seal, use a roller or a similar tool to apply pressure over the entire tarp surface, focusing on the perimeter. This step is crucial to ensure no moisture can seep through the edges.
Post-Installation Considerations
After successful installation, regular inspections are recommended to ensure the tarp remains intact and effective. In adverse weather conditions, it’s prudent to check that the tarp is still securely fastened. To learn about our tailored solutions for ongoing roof maintenance, consider periodic evaluations and adjustments as needed.
Conclusion
Applying a self-adhesive roof tarp is a practical and efficient method for temporarily addressing roof leaks. By taking the time to prepare adequately and follow the outlined application steps, homeowners can effectively mitigate potential water damage. For those seeking comprehensive information on tarp application and maintenance, explore advanced guides and tips available online. A well-installed tarp not only provides peace of mind but also preserves the integrity of the home until permanent repairs can be completed.