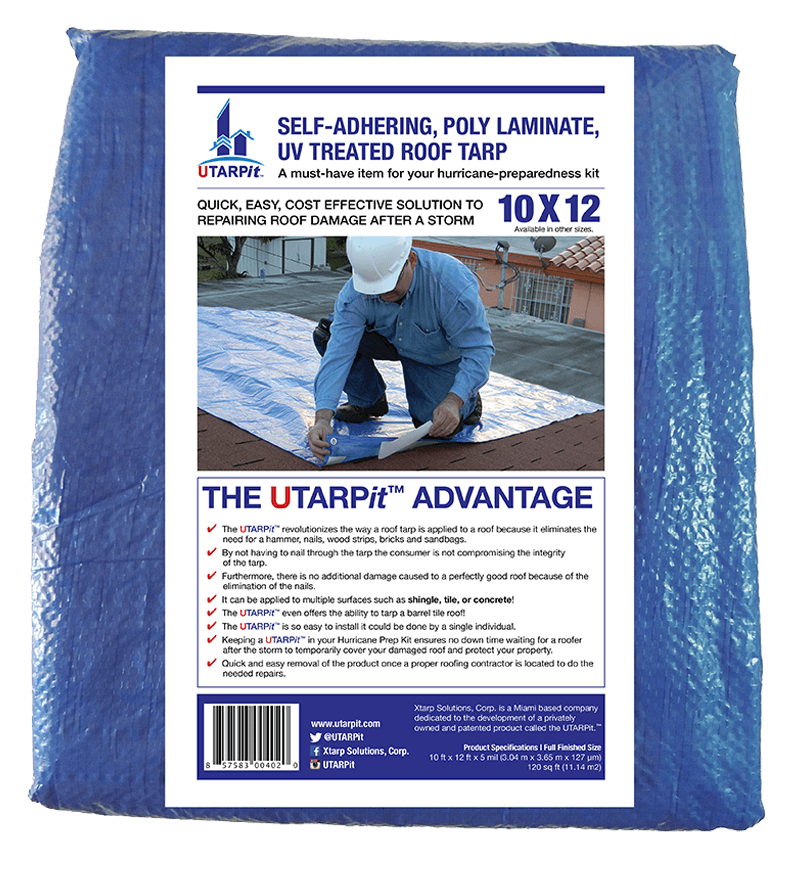
Protecting your home from the elements is crucial, especially when facing potential roof damage due to severe weather. One of the most effective temporary solutions is using a tarp to cover the roof. Properly installing a tarp can prevent further damage, leaks, and costly repairs. This article will guide you through the process of using a tarp effectively and safely, ensuring your home remains secure during challenging weather conditions.
Choosing the Right Tarp
Selecting the appropriate tarp is the first step in covering your roof. Consider the following factors:
- Material: Opt for a durable, waterproof material such as polyethylene to ensure maximum protection.
- Size: Measure the damaged area and choose a tarp that extends at least 3 feet beyond the damage on all sides.
- Color: A blue tarp is typically used for roofing purposes as it blends well and provides UV resistance.
For high-quality options, explore advanced guides and tips to find a tarp suitable for your needs.
Preparation before Installation
Before you begin the installation process, ensure safety and readiness by following these steps:
- Safety Gear: Wear non-slip shoes, gloves, and a safety harness if available.
- Weather Conditions: Avoid working in wet or windy conditions to minimize the risk of accidents.
- Clear the Area: Remove any debris or loose shingles around the damaged section.
Learn about our tailored solutions here to ensure an effective preparation phase.
Installing the Tarp
Step-by-Step Guide
Follow these steps to securely install your tarp over the damaged roof area:
- Position the Tarp: Lay the tarp over the damaged area, ensuring it extends beyond the edges of the damage. Align it properly to cover the entire section.
- Secure the Edges: Use 2×4 wooden planks to secure the tarp’s edges. Roll the edges of the tarp around the planks and nail them into place on the roof.
- Tighten the Tarp: Pull the tarp taut to prevent water pooling, which can cause further damage.
- Check the Stability: Ensure the tarp is firmly anchored and inspect it regularly for any signs of tearing or loosening.
Discover expert strategies here for an in-depth understanding of the installation process.
Maintenance and Inspection
After the tarp is installed, regular maintenance is vital:
- Frequent Inspections: Check the tarp after storms or high winds to ensure it remains secure.
- Repair Tears: Immediately repair any tears or holes to maintain the tarp?s effectiveness.
- Monitor Weather Conditions: Be aware of upcoming weather events that may necessitate additional securing of the tarp.
Find out more about this approach by visiting the official guide on maintenance practices.
Conclusion
Using a tarp to cover your roof is a practical short-term solution to protect your home from weather-induced damage. By choosing the right materials, preparing adequately, and following precise installation steps, you can secure your home effectively. Regular inspection and maintenance are equally crucial to ensure the tarp remains in good condition until permanent repairs can be made. For more information on selecting and using tarps efficiently, visit the provided resources to explore advanced guides and tips.